Yes, the "red one".
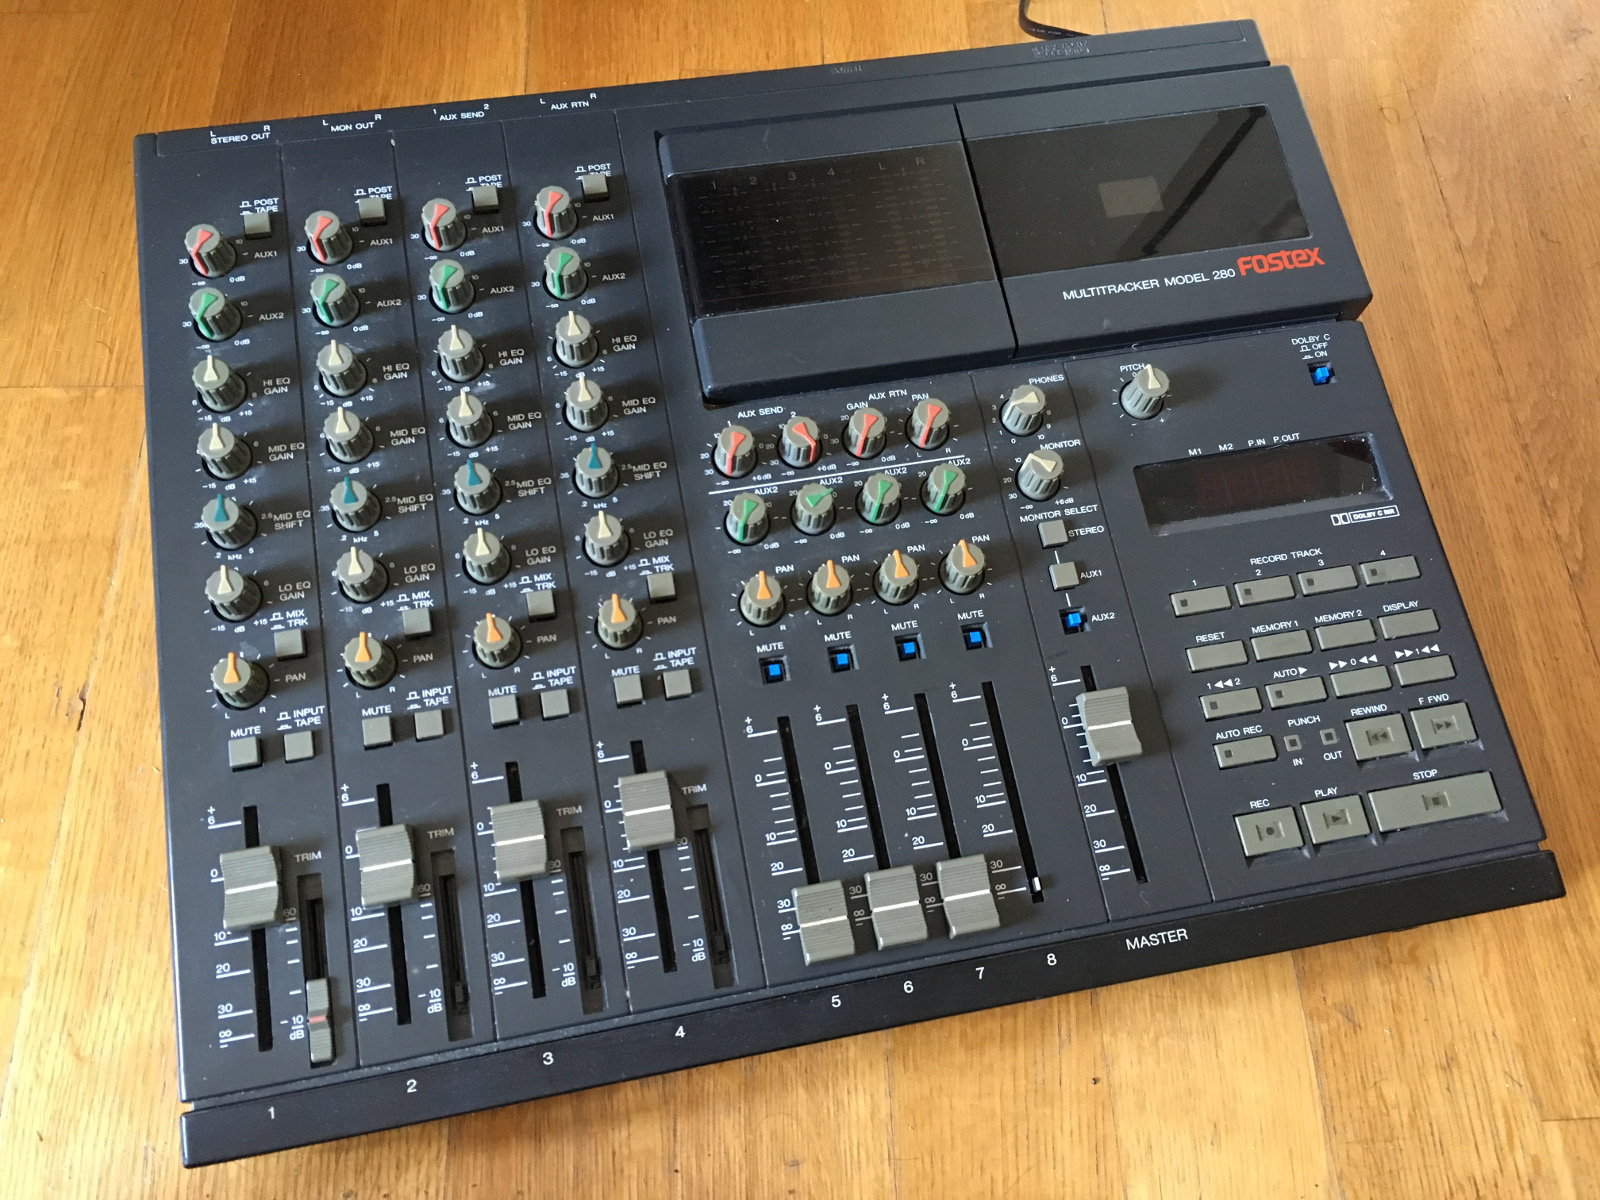
I did once discuss a broken Fostex 4-track tape recorder, which I never really properly repaired. I got a good impression of the Fostex brand and when this striking-looking MR-8 digital recorder was available on a net auction, I blindly hurried to get it. This already some 5 years ago I think.
After the initial excitement of having a multi-tracker strongly influenced by the 4-tracker tape workflow, I felt it was too slow and limited and the box mostly spent time at the back of a shelf. Besides, calling it an 8-tracker is really a stretch. You can only record two inputs at a time, and only four of the tracks behave individually. The 4 other tracks are stereo "bounce" pairs 5/6 and 7/8.
The MR-8 is from around 2003-2004 after all, at a time when a cheap digital recorder became a possibility but the concept was still somewhat marred by tiny memory space, slow USB and card speeds.
Now, for one reason or another I felt it might find at least a temporary place on my desk. There's something fun about listening a recording without even turning on the computer, and on occasions learning to be slower with your methods might even be helpful.

Upgrades
One motive to dig this out was that I found out there are firmware updates. I did the 1.21 upgrade and saw this would allow me to use a 2GB compact flash card instead of the 512MB one installed. Fostex had also supplied a list of cards proven to work, which was pretty nice of them. I ordered one from eBay, a Sandisk brand 2GB card. This would bump the 48 minutes of 4-track recording into a maximum of 188 minutes.
A repeat of the firmware update instructions:
After finding the MR8V121.zip from Fostex website, unzip the file within, and use the USB function of the MR-8 to copy it over to the compact flash. (The MR-8 appears as a sort of memory stick, if the USB mode is on) After this has been done, shut down the MR-8. Then hold STOP and turn the MR-8 on again. Now the Fostex should prompt you with something like "version up", and as usual, you have to confirm it with RECORD+YES. Wait for a while, and after the upgrade is done the Fostex should be again shut down. After turning it on, you should see the version is now 1.21.
A Fostex document suggests turning the "EXTEND" mode on in the Fostex before doing the upgrade, but this might be required if the card has seen some use. My card was nearly empty, and I guess there were no problems even if I didn't turn the mode on.
After upgrading there is an option for auto-delete of undo space, but I left this off for now.

After inserting a new 2.0 Gigabyte Compact Flash card and turning the power on, the Fostex offers to format the card. After this procedure there is more than 6 hours of mono recording time in the normal mode.
The space use depends on the amount of tracks and how much undo buffer is in use. As should be, the recorder does not waste extra space when not needed. So, if you first record a few minutes to tracks 1 and 2, and then record a few snippets in the middle of track 3, these will only take a tiny amount of memory and not a full track.

Learning to fly
I became motivated to study the device and the manuals a little more, finding some neat functions I had been so far unaware of. The manual, despite having some typos and tiny language problems, is extremely clear and well illustrated.
As an example, I was originally unimpressed with the slow export procedure. You can't simply copy your work in progress using the USB connection. The tracks 7/8 are exported into a specific WAV stereo file, which in turn can be copied over the USB. Creating the 7/8 track seemed to require the re-recording of the tracks using "bounce" function.
But now I learned I don't really need to re-record to 7/8 in real time in order to export them to WAV, as I can simply "copy" tracks 1-2 to 7-8 internally, which is much faster. Assuming all the material is in tracks 1-2, that is! Then again, if I'm using all tracks I could choose to export tracks 3 and 4 to 7/8 too and combine the audio at the PC end.

Anyway, this track-copy function helped me try out different recording parameters and seeing the results rapidly on the Linux side. I also found out that most of the track functions work not only on single track, but on the 1/2, 3/4, 5/6 and 7/8 pairs which makes these tools more useful.
Also, the part copy and erase functions made more sense once I used the internal clock to synchronize a sequenced recording. This way, the recording can be revisited in Bar/Beat timing and not in seconds. I'll tell more about this below.
The sync also could help record tracks separately with accurate timing. For example, record one song element to tracks 1/2 first, then another to 3/4. An optional audible metronome click helps live play.
Using the inertial rewind and forward buttons together with the unresponsive STOP is still quirky. I could have used the good honest cursor keys to step between bars.
Things like the on-board effects processor and mic/amp simulations are perhaps better ignored, as they are not very functional and some of them are simply on-off without any parameters. It looks like everything in the device is geared towards making a simple demo for a performance that might include a guitarist and a vocalist.
For the hell of it, I also tried XLR cables for inputting balanced audio from the mixer, although with the distance of 1 meter it should matter very little what kind of cables I'm using. The XLRs ought to be used for microphones really. But in contrast with instrument cables, I seemed to need less TRIM for Input A and B to get the same volume level, which kind of sounds promising? My ears could not really discern any difference in results, though.
Opening the box
I also felt an urge to look inside the box, as some of the buttons were a little unresponsive. The STOP button and the STORE button have to be pressed hard to make them work. Yet it was clear the switch below the button "clicks" in a tactile way.
Some sawdust particles had got between the LCD and the plastic cover, and this irritated me as the screen's not that big anyway.

Pull out the faders first. The knobs do not need to be removed.
Do not remove the "foot" screws and the "battery compartment" screws. Screws near "Digital Out" and possibly MIDI, do not need to be removed either, but I did take out the latter. (Edit: These do not need to be removed.)
There are screws at the bottom and back that need to be taken out. The three bottom screws near to the back connect to a metal plate that needs to be detached later. These screws are somewhat longer than the other. (When putting these three back, put them loosely in before tightening them fully, otherwise one of the holes may be mismatched and it will be difficult to fit.)
Then the red cover should pull out together with the LCD and the fader/button unit. After disconnecting the mic leads and the two ribbons, the parts can be pulled out entirely. I found it easier to unscrew the mic rather than try to disconnect it from the circuit board.
Then, more screws need to be taken out to detach the LCD/fader unit from the plastic cover. There's also a protective "silver cardboard" which probably does little or nothing to remove interference.
After cleaning any visible dirt and putting it all back together, the STOP and STORE button did not become markedly more responsive. Possibly the switches have become worn out. I did manage to clean the space between the LCD and the transparent cover, so there are no longer any particles there.
Possibly, to repair the buttons I'd need to replace the microswitches on the circuit board. They did not appear in any way loose, and the one-piece plastic contraption containing all buttons didn't look damaged.
5.2.2023 Edit: I took a closer look, and re-soldered the tactile switch connections while pushing the switches closer to the board from the topside. This improved the connection and the STOP/STORE buttons now work with lighter touch. The switches are 6.2x6.2mm with top measured varying at 4-4.5mm because of the way they had been soldered in. With only two pins as the poles it would not be surprising they might come loose easily.
MIDI clock-based recording
The Fostex has a MIDI out port, a feature I had not previously used. I recall this caused some initial confusion in me, why does a recorder have a MIDI out port? But it's actually rather obvious. The port transmits the MIDI clock to a sequencer and it is possible to make timed recordings this way.

A song can have a tempo and time signature map, so the Fostex is not limited to one overall speed or time signature. After making these selections and recording a synced track, it's possible to switch over to the Bar/Beats notation instead of the hours/minutes/seconds timing.
There are even two kinds of sync methods, the simpler MIDI clock and the SMPTE/MTC. I used the simple clock, and it looks like to me for recording a complete song it should be sufficient and uses far less MIDI bandwidth.
The simple MIDI clock sends start/stop/continue signals and a continuous "click", all using single-byte signals. 0xFA for start, 0xF8 click, 0xFB is continue and 0xFC is for stop. Other MIDI message contents are always seven-bit, so even if a click arrived mid-message, it shouldn't be difficult to parse.
For a 4/4 time signature, the click byte is sent 24 times for each quarter note, giving a resolution of 96 for one beat.
Frankly, the alternative MTC format looked rather complex, as it sends portions of the time stamp little by little. The sequencer may even need to interpolate these and "lock on" to the signal. The plus side is that it becomes possible to start the playback from any location. In the simple clock mode the Fostex doesn't send the SysEx for song position. On the topic of MIDI timings I used Francis Rumsey's book Midi Systems & Control, 2nd edition, from 1994.
When the START signal is sent (by pressing Play on Fostex), Fostex can be told to wait for a couple of empty bars before the click signal begins to roll. For my sequencer, this handily means the MIDI data can be rendered and linearized for playback, which can take a tiny moment. As the sequencer receives the click, the virtual playhead is advanced and MIDI out signals are sent to instruments.
After pressing STOP on the Fostex, the click is no longer sent and the Stop byte is send via MIDI. This can tell the sequencer to stop worrying about the incoming clock, or something.
One obvious use for this when importing the Fostex-exported WAV to a Sequencer/DAW, here for example Qtractor. After setting the tempo I have the track laid out according to plan.

Working with the bar/beat model, it's also possible to make better use of the Fostex Part erase/copy/paste functions. Usually the A and B positions are meant for working on a song position, such as re-recording a portion with multiple takes. Here the A->B positions signifies an area to be operated on a single track, and they can "snap" to beat resolution. This way I could remove a few bars out from a track, or even extend the song further by copying more material to the end.
Also, I recorded separately a bassline to tracks 1/2 and percussion/other stuff to 3/4, from the same song, and the result sounded pretty accurate to me.
So in theory, a song can be constructed using already recorded short elements. This might be silly in this time and age, but as a zen exercise in patience, it might just spur someone's creativity.